Infrared Photography Basics

I recently started dabbling in a new (to me) genre of photography.
When I first came across infrared photography, I was blown away by the magical, fairytale-like aspect of it all. The white grass and leaves, the deep blue skies, it was all so captivating because it simply wasn’t normal. I scoured the internet for answers on how to get this look, and it turns out all of the information was in bits and pieces across the web. So I’m going to walk you through on the entire IR photography process in one place so you don’t have to struggle like I did. If you’re a fan of threads on twitter or just want a quick rundown of the process, take a peek at the thread I made about this.
What is Infrared Photography?
Quick science lesson before we start! The human eye can see wavelengths of light from about 400nm-700nm. Infrared is the light beyond 700nm, and wavelengths for this photography typically range from 700nm-900nm. Since camera sensors and film are sensitive to visible light as well, infrared-passing filters are used to block out most or all of the visible light spectrum.
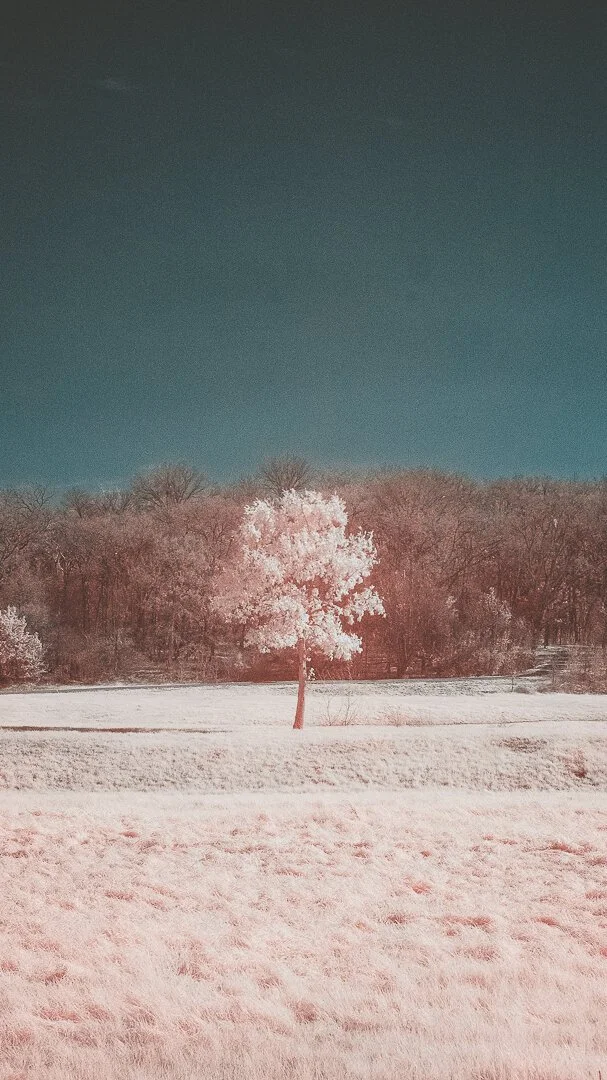
A lot of the infrared photos seen are actually something called “false color” photos. These are the dreamlike images of white foliage that’s cause by infrared light reflecting in the same way visible light reflects off of snow. Another trait of false color infrared photography is the dark skies and waters.
Black and white photography is also made a bit easier with infrared. It provides a really nice contrast and can cut through a lot of atmospheric haze that is normally seen in visible light.
So what’s the purpose? Infrared photography is used mainly in aerial photography, astrophotography, and, for a while, to create day-for-night effects in films.
Cameras
Infrared photography can be done on both film and digital formats, but since my knowledge of film is limited, I’m mainly focusing on digital. The process is pretty similar, with the exception of focusing. If you’re interested in film, I would say look into all of the different varieties of infrared films out there.
The way our cameras see light is pretty different than the way we do. Camera sensors can actually see visible and invisible light, and often come stock with a filter over the sensor to block out a good bit of infrared light. This is important because otherwise the camera would either miss focus or tint everything red.
Because of this filter built into the camera, infrared photography can be very impractical. Focusing is a struggle because you can’t look through the viewfinder, so you’ll always have to keep an eye on your LCD. Focusing on a film camera is another monster because you don’t have the luxury of an LCD. You’d actually have to remove the filter on your lens, focus, then replace the filter while trying not to move anything.
On top of this, because the type of light you’re trying to capture is also being filtered out by the lens over your sensor, you would need to use a pretty long exposure time for an image to come out, usually between 10 and 30 seconds. Unfortunately, even with a tripiod, this is likely to result in noise and a lot of motion blur, but it’s still possible.
Another option, though expensive if you’re shipping it out or scary if you’re doing it yourself, is converting your camera into a full spectrum or only infrared camera by removing the filter from the sensor. If you wanted a full spectrum camera, you can just stop there. However, if you wanted a strictly infrared camera, you would need to replace the filter you just took off with one that only filters through infrared light.
This process makes it possible to take photos as normally as possible, though you’ll still need to use filters on your lenses to get the wavelength you want. Also, though I converted my old camera on my own, I’m not going to go into detail on how exactly to do it simply because every camera is made differently, and every manufacturer has its own policy on cracking open your camera. So I’m not going to encourage that you open it up yourself, but I will say a converted camera feels so much better.
Filters
There’s a lot of different filters out there at a lot of different price points and frequencies. The one I use the most is a Hoya R72 filter, which blocks out everything but up to 720nm of light. It’s a good all-around filter, and I’ve even used it before I converted my DSLR. I’ve also picked up an adjustable filter that I haven’t been able to play with much, but it’s around 530nm-720nm and is supposed to let in more visible light for more colorful photos. I also have a 900nm for high contrast black and white photos in bright sunlight.
My suggestion, as far as filters go, is to start with a 720nm filter, which is known to be a good filter for just about any situation, and experiment from there. It really depends on the looks you’re going for and what you’re taking photos of.
Taking Photos
I already explained a lot about taking infrared photos, but just as a quick recap, I’ll go through it again.
First thing’s first, if you’re not shooting in a RAW format, you’re going to make post processing a whole lot harder than it needs to be, especially if you’re going for a false color photo. I’ll always recommend you shoot in a RAW format though, so this is nothing new, coming from me.
Don’t forget your tripod before you go out! When you’ve found your subject, slow that shutter speed, crank your ISO if you need, and you should probably also turn on a self timer, just to avoid any other camera shake coming from you hitting the shutter.
When you’re focusing, don’t forget that you won’t be able to see through the viewfinder, since only invisible light is coming through. Your camera can still see it, and you can still use your LCD to compose and focus your image. If you’re using an SLR or don’t have a working LCD, compose and focus your image before putting the filter on the lens.
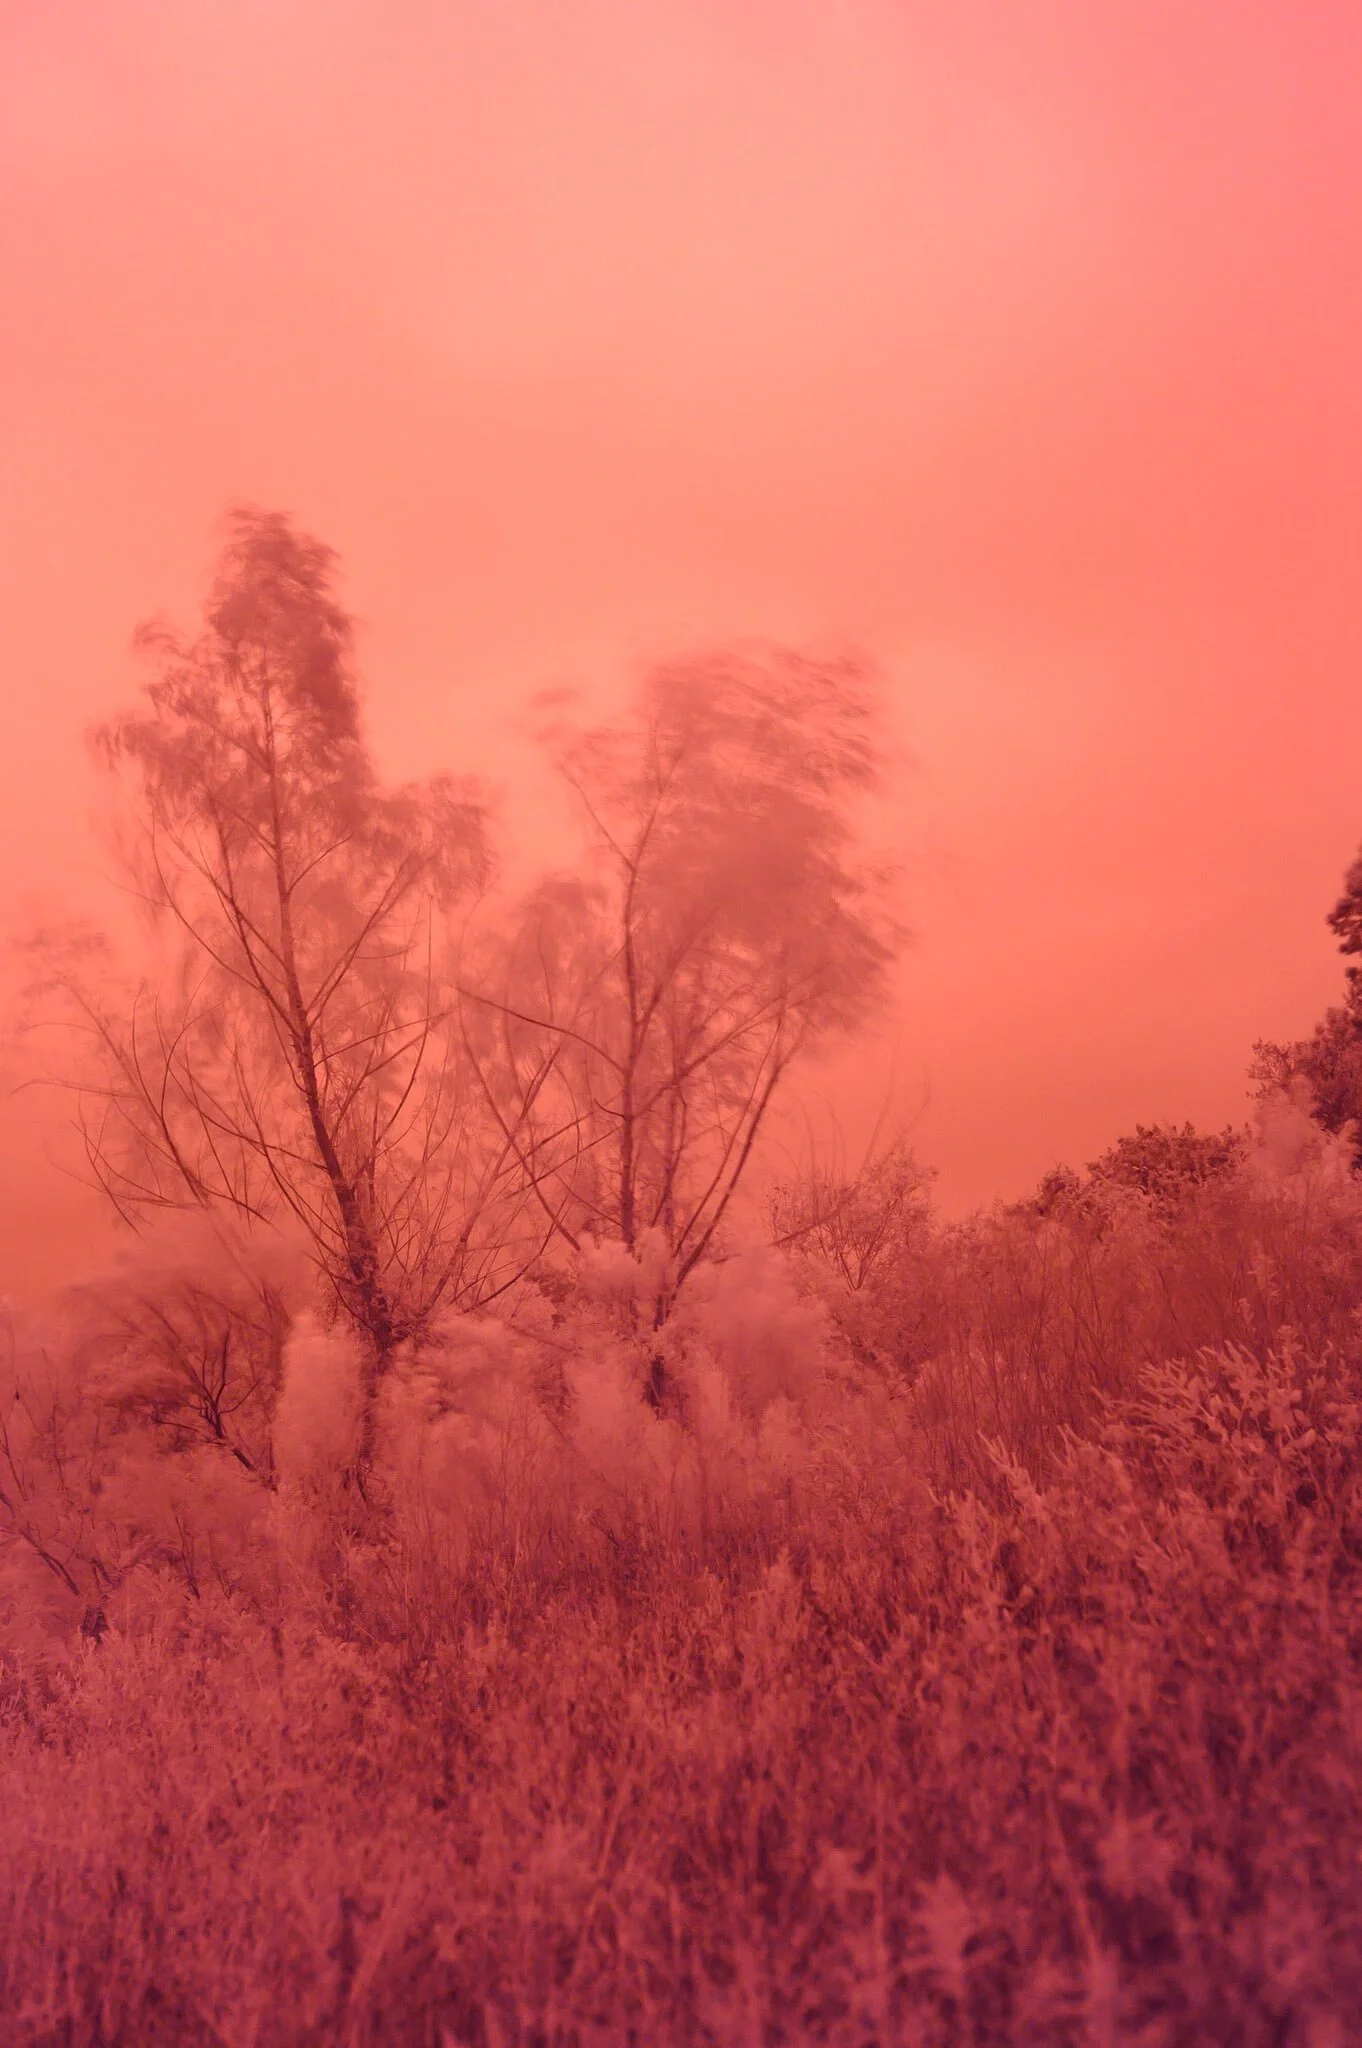
Your images are going to come out red. Like really red. Maybe a little pink. It’s fine, that means you’re doing it right!
Alright, time to edit!
Editing
There’s no real fast way to post process false color photos, and you’ll always need Lightroom and Photoshop (or their equivalents) for the way I work with them.
Once you put the photos into Lightroom, you’re gonna want to make the image as cool as possible, so move the temperature all the way over to the blues, or you can use the eyedropper to adjust for the tint too. Your image might be really purple, not so much blue, but we still have some work to do.
Bring the image into Photoshop, because it’s time to swap the color channels around! This is where “false color” comes into play, we’re moving colors around and putting them into different places to create this fairy tale feeling. There’s no other way to really explain what’s going on in the channels besides listing them:
Red Channel
Red - 0%
Green - 0%
Blue - 100%
Green Channel
Red - 0%
Green - 0%
Blue - 100%
Blue Channel
Red - 100%
Green - 100%
Blue - -100%
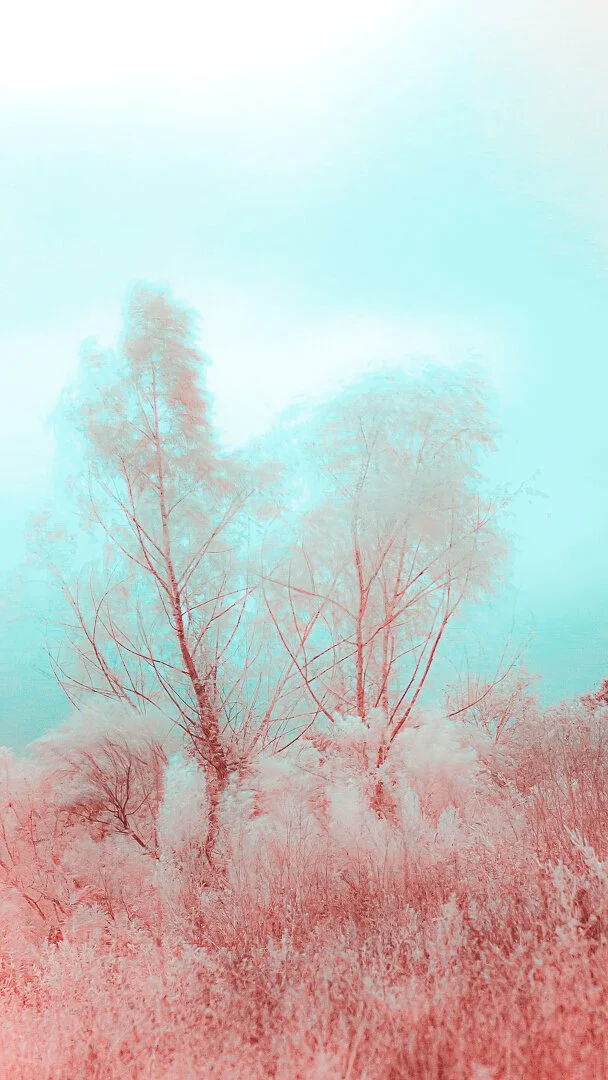
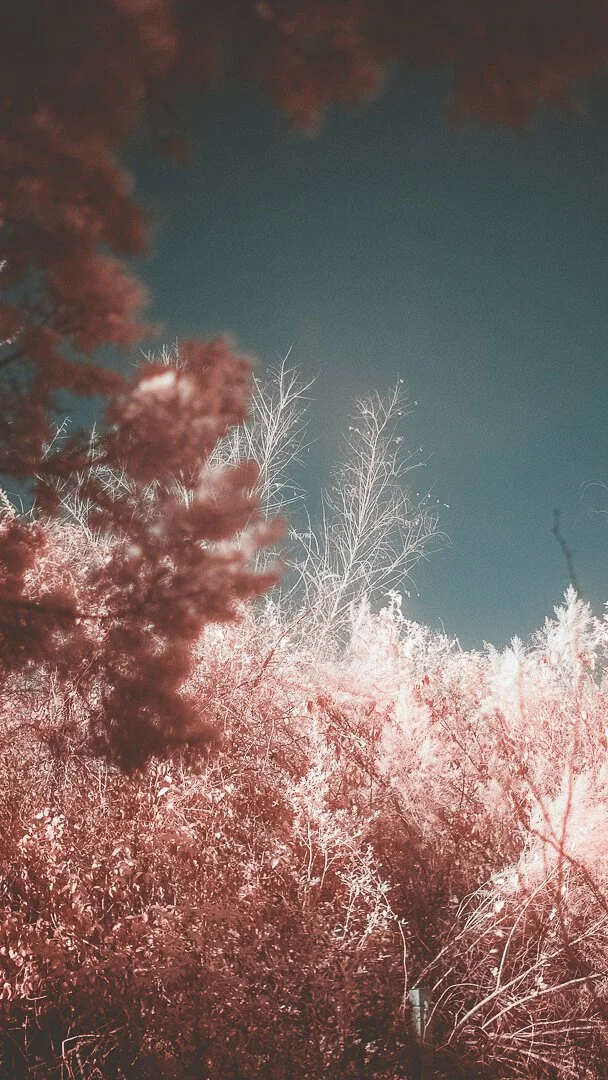
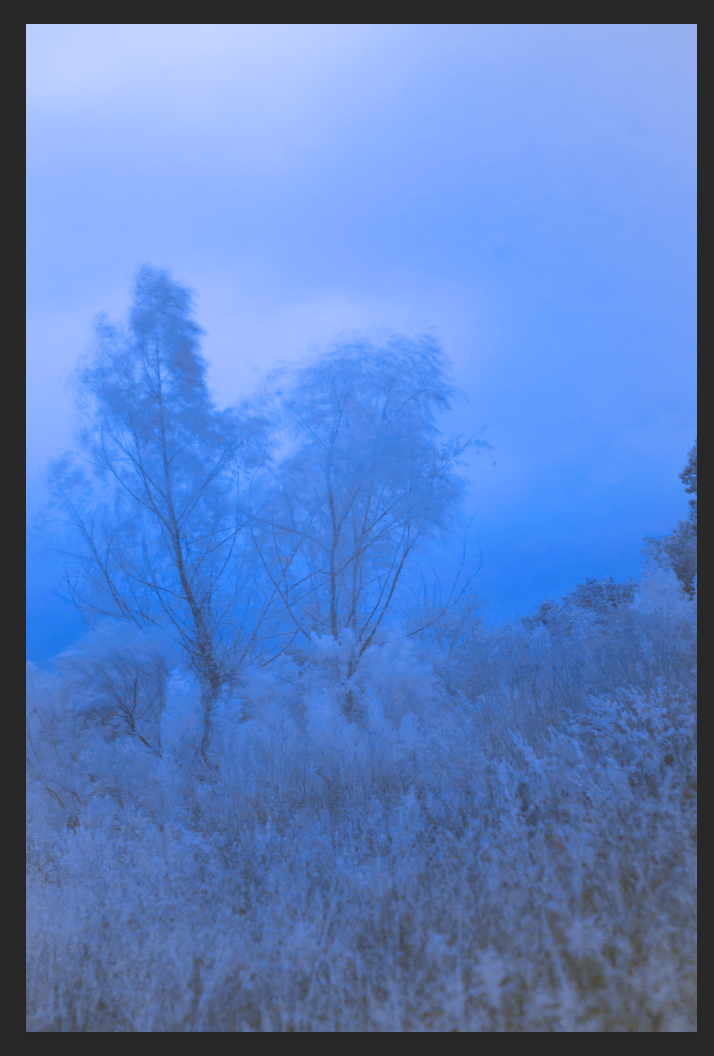
This has been really successful for me, but as with everything, there’s nothing wrong with experimenting. As far as a starting point though, I’d stick with these numbers. After changing your channels, you should get a very blue image. With this, you can bring it back into Lightroom and bring back the warmth until you get the result you want. Just edit as usual. I like bringing soft pinks and blues into my photos instead of just leaving them white. Below is the photo we’ve been walking through with (taken with a stock camera) and two others taken later with a full spectrum camera.